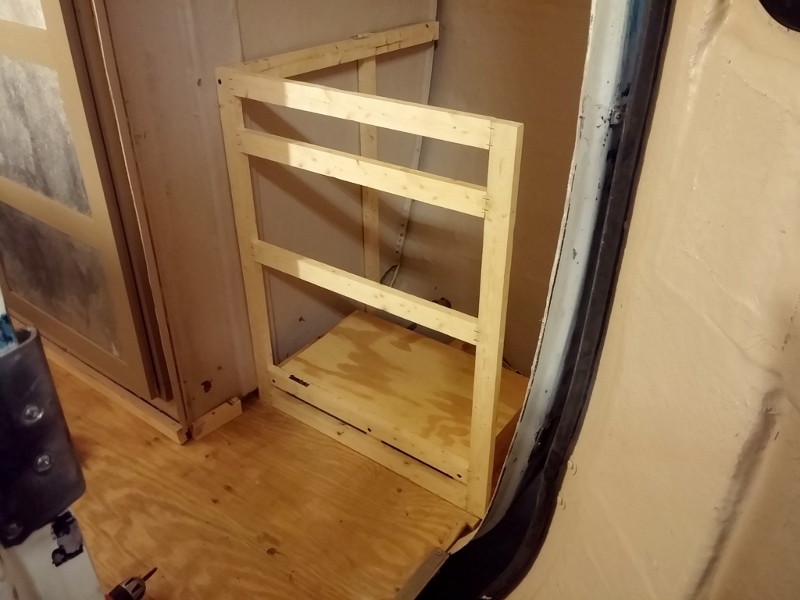
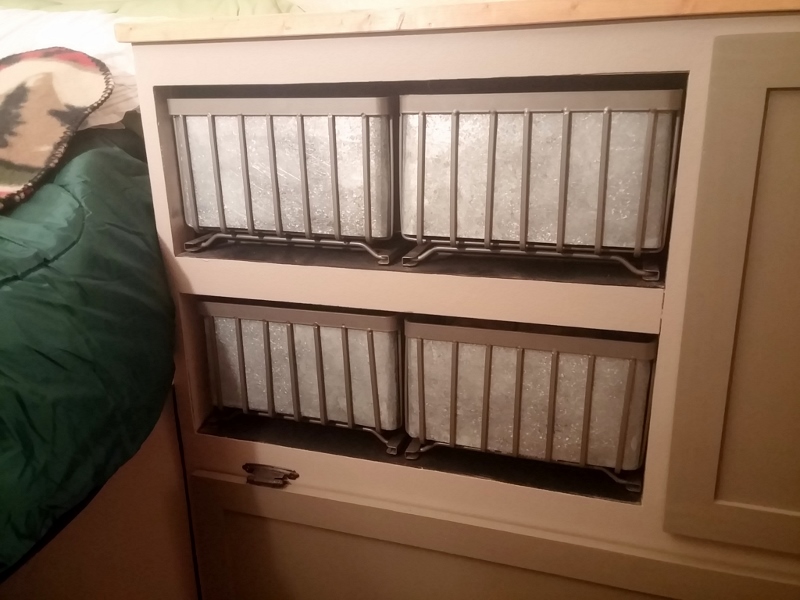
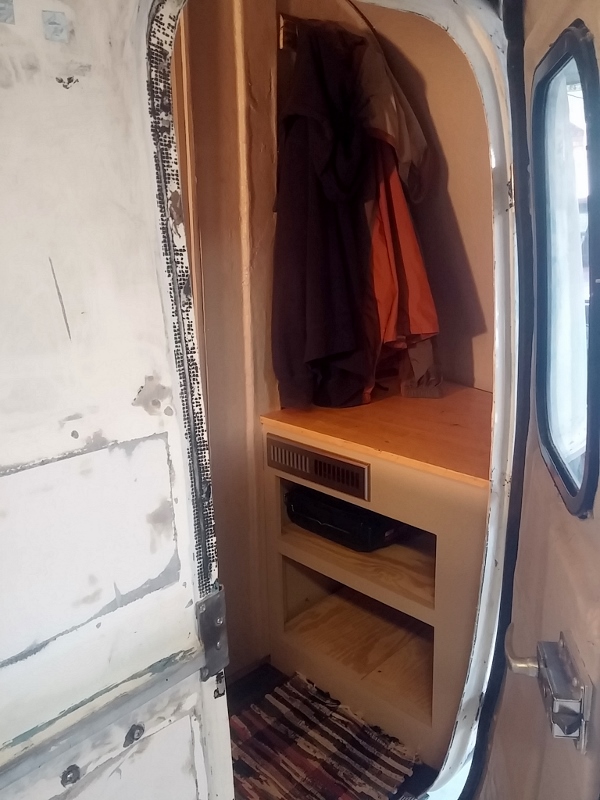
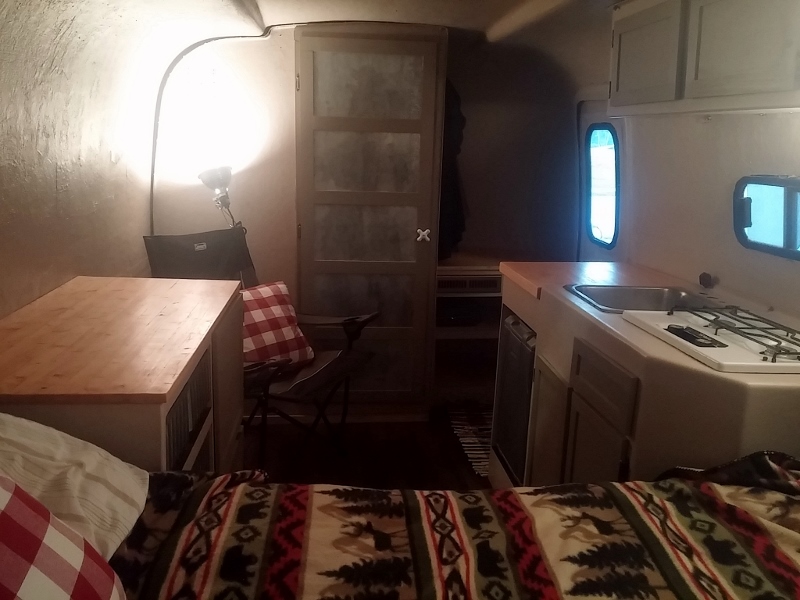
I took a short trip to the beach with my family this past week, today was the first day I was able to get back to work on the camper. I made some decent progress on the storage cabinet inside the front door:
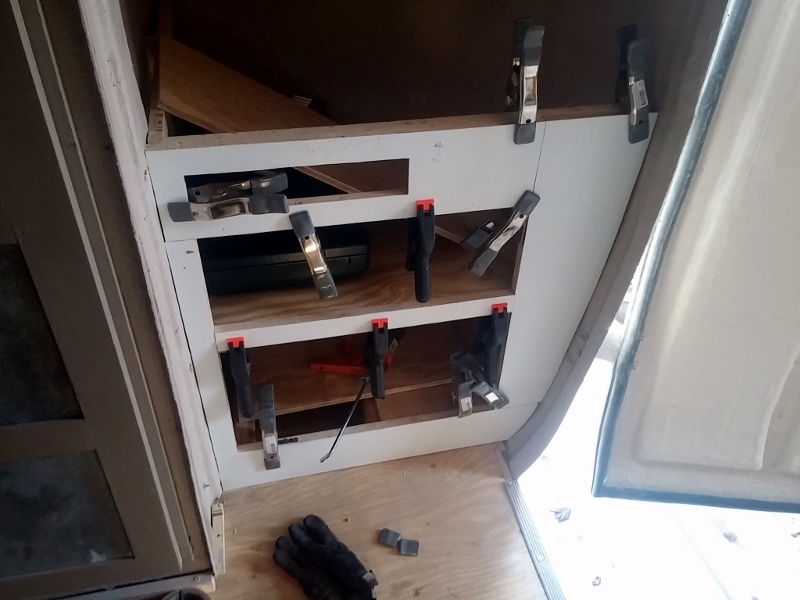
I still need to patch,
paint, install the top and build/install a door, but it's coming along. While I was in
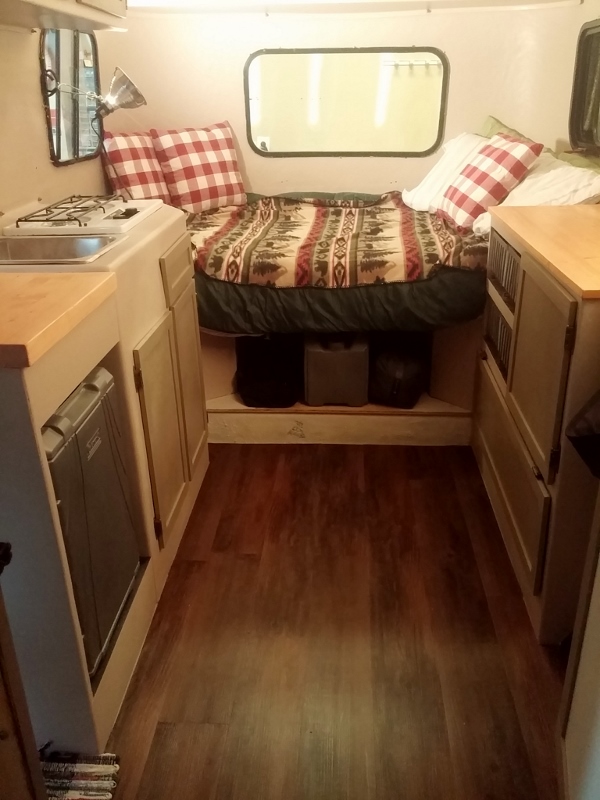
fiberglass mode, I got the facing installed on the additional kitchen unit:
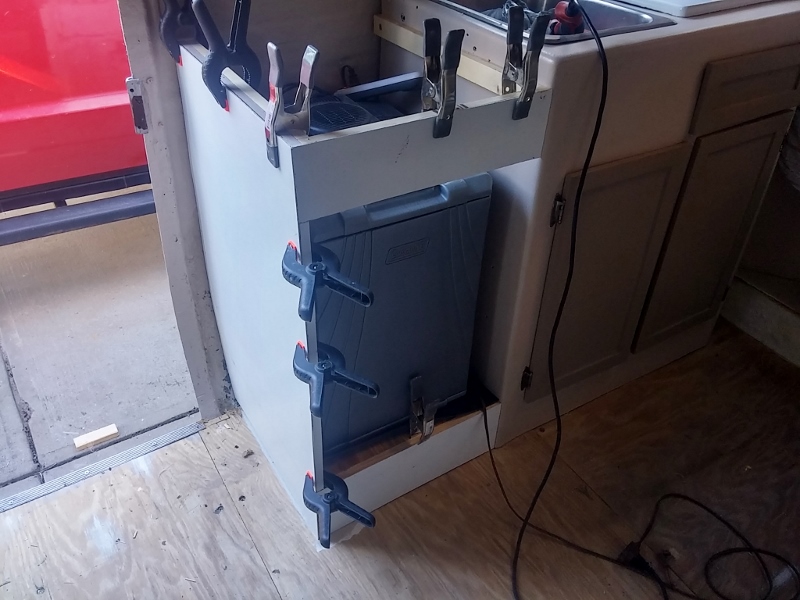
This too will need patching and
painting, but it's getting there.
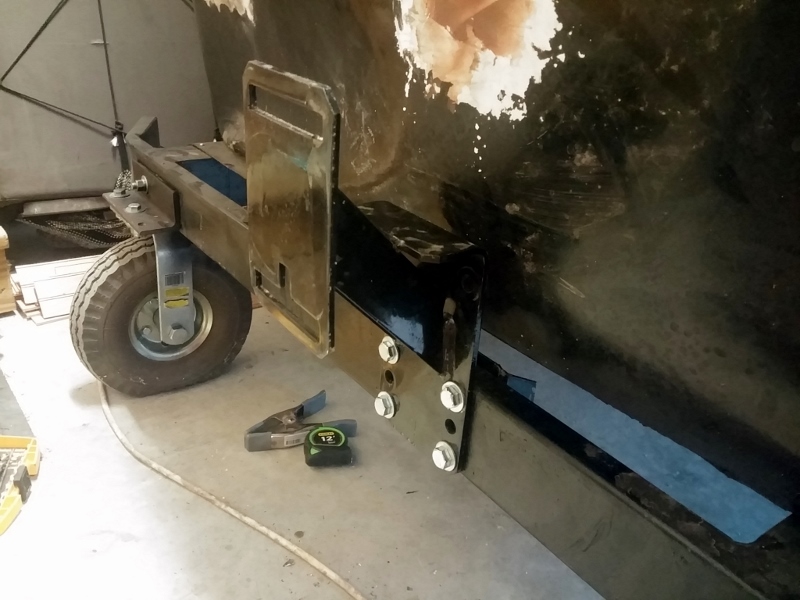
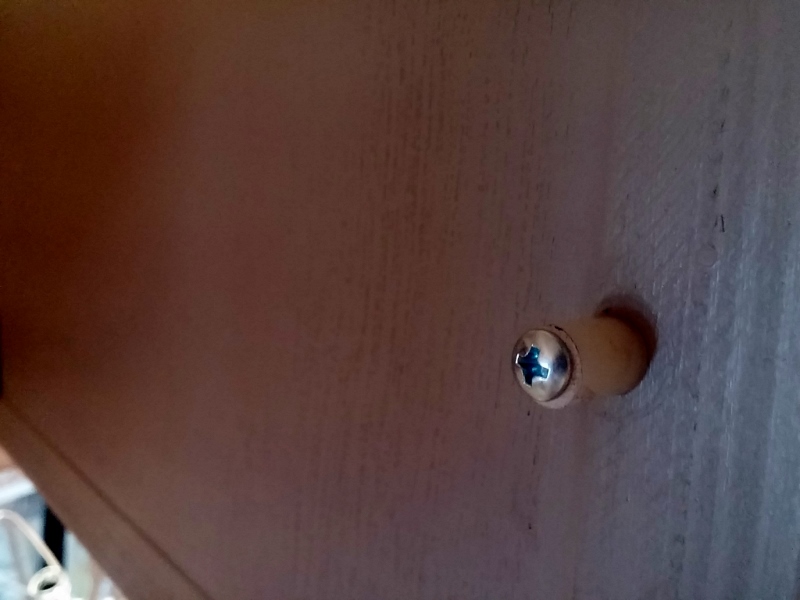
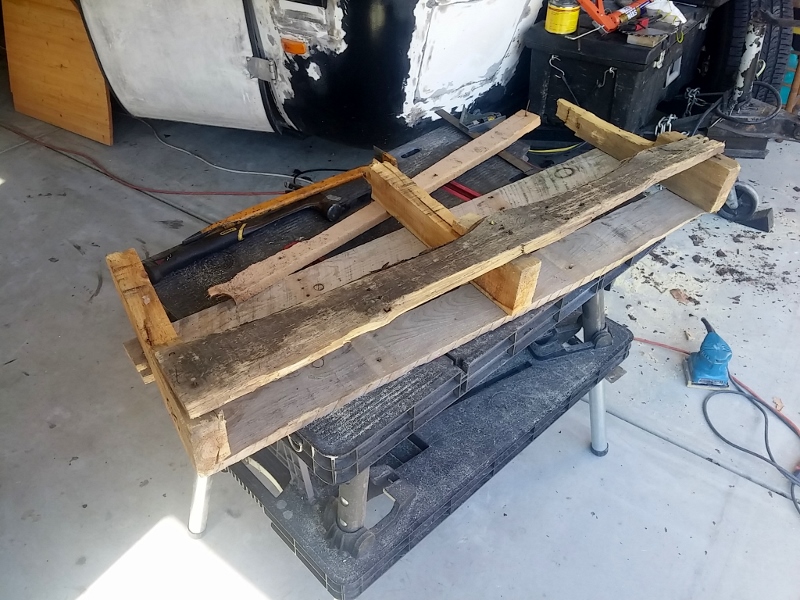
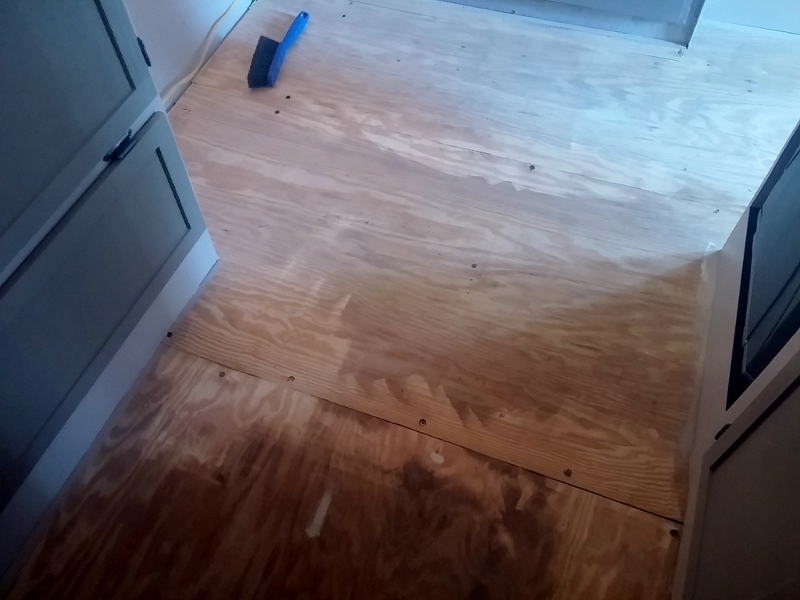
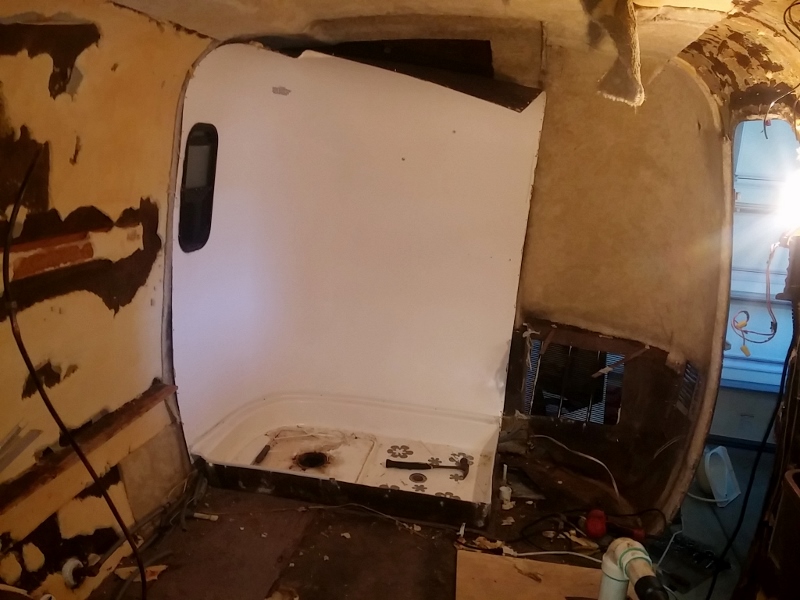
I also made some good progress on fixing the door gap. After getting the camper into the driveway and on its wheels I fussed around a bit to determine what I needed to do - ultimately I ended up adding some shims to the additional kitchen unit to push the shell out, then made some additional kerf cuts in the door in order to crank it down into shape:
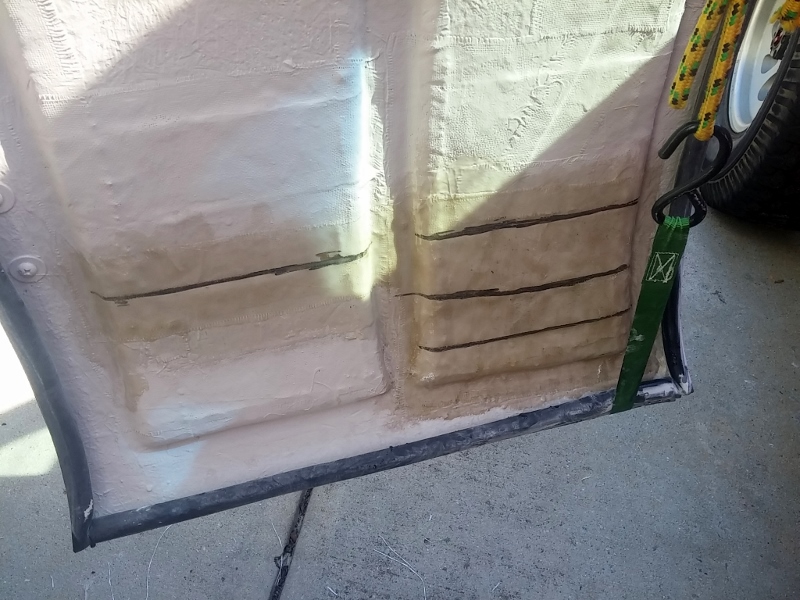
There are still a couple spots that have a gap that's around 1/8th of an inch which I'll need to figure out how to close, but it's considerably better than it was before!
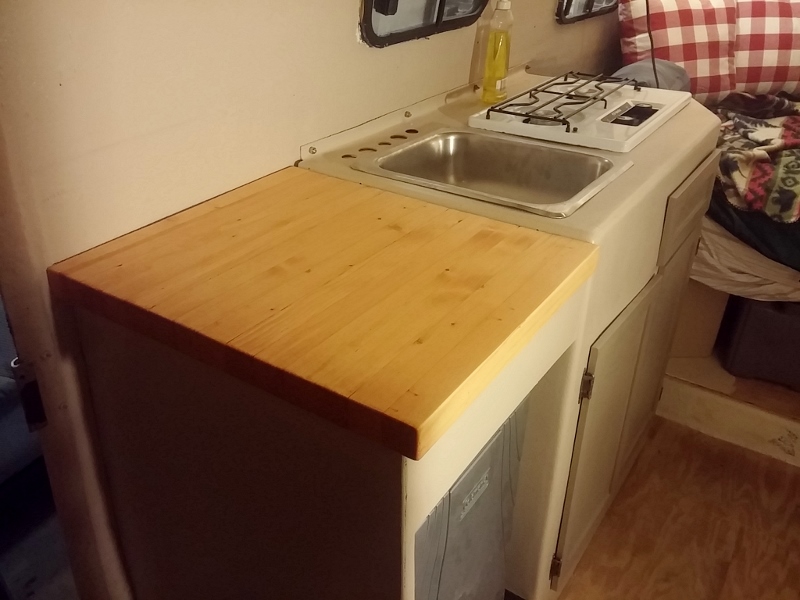
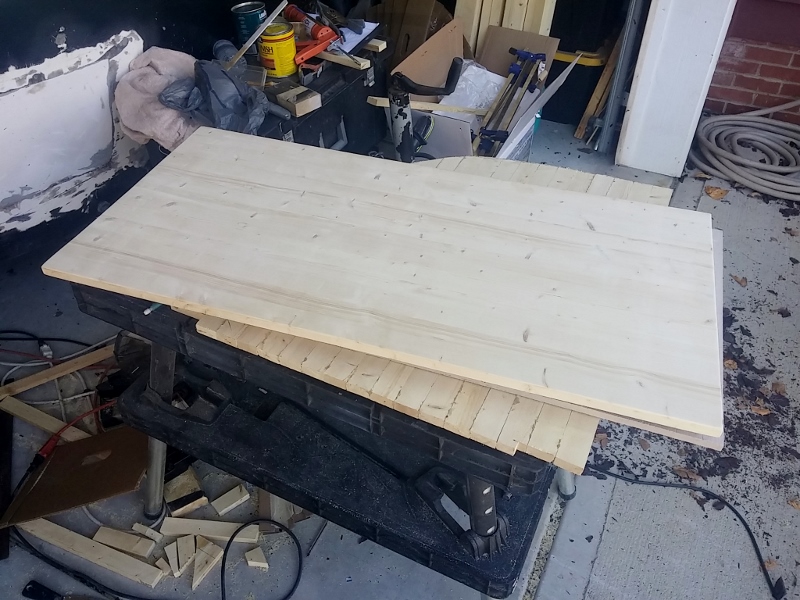
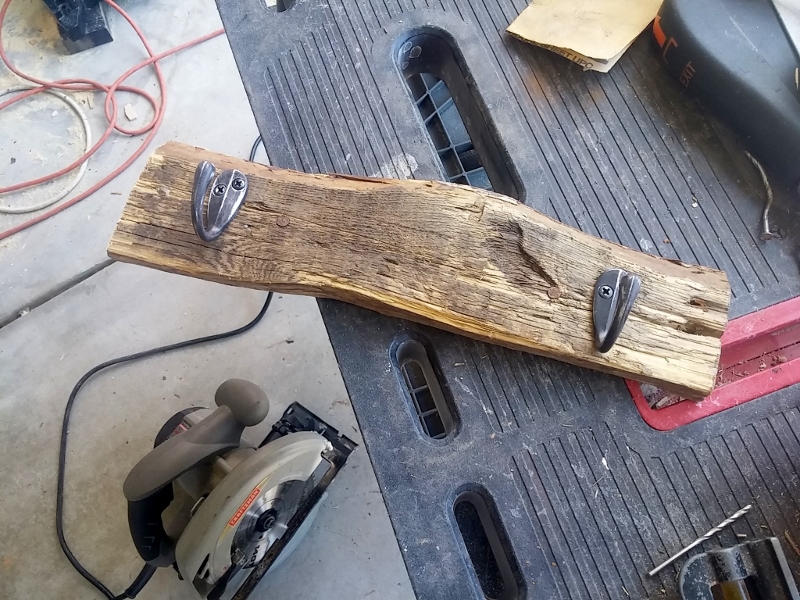
Last but not least, I spent some time working on a counter top for the additional kitchen unit. I didn't luck into anything great at the local ReStore, and couldn't stomach the thought of spending almost $100 on a butcher block slab, so decided to make a butcher block style counter from scratch. In order to save some
weight I opted to use pine which means I won't be able to cut directly on it, but theoretically it should look decent after some stain and not a big deal just to use a cutting board when needed:
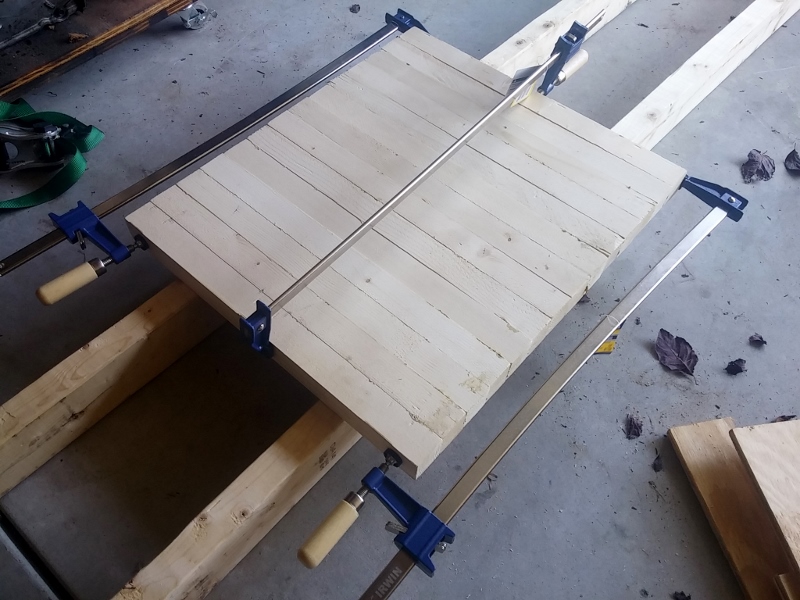
If this ends up coming out OK I'll do the same thing for the tops of the two new storage units I've added.
Lots left to do, I'll post up as I make more progress!
Jonathan


")

")
 Biggy the Big Egg
 Iggy
Iggy Scampy
 I'm hoping to add a thin rib around the rear area to give it some support, yet keep the open look and feel... although I must admit I haven't completely figured out how to implement this yet so it's going to be a little wobbly until then.
 Ziggy
Ziggy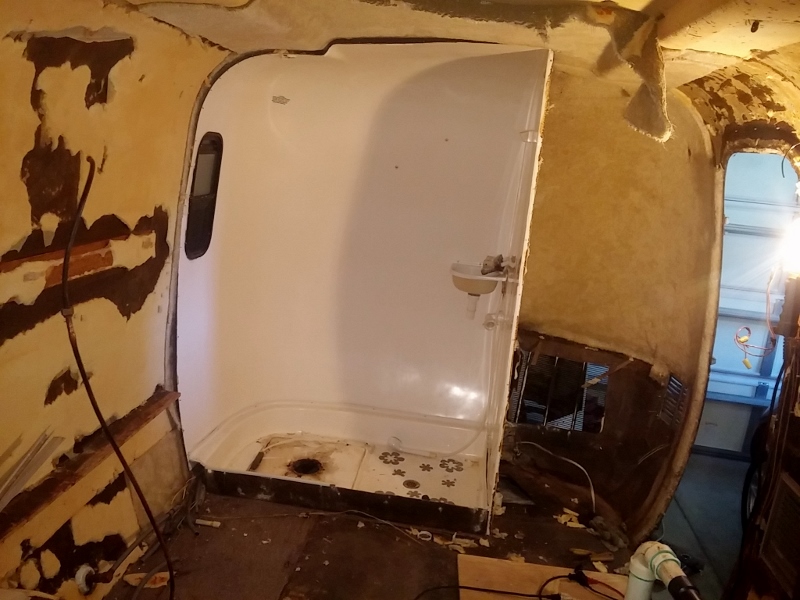


 Linear Mode


