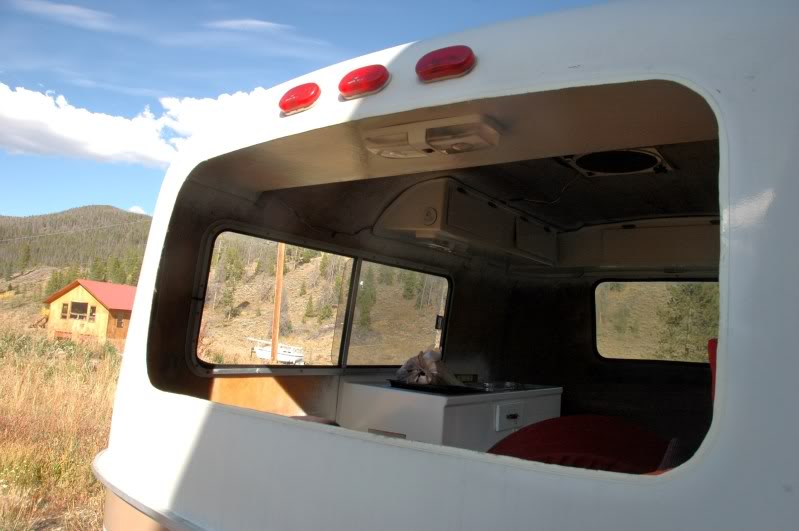
So we took the Perris Hilton out for our first camp trip.
We bought foam rubber from Jo Annes, and cut to fit for the cushions. The electric carving knoife was awesome for that job. then we temporarly covered the foam in sheets till we can take them to an upholsterer.
I got the stove quickly working but there is a leak to address. I am going to replace the whole stove unit anyway and run new copper. (There is currently like three unions along the way, of course it is leaking.)
Found a new spare at Discount Tire.
The new window lock-strip did not arrive in time for the trip so I squirted a bunch of silicone around just to get through the trip. worked OK. (and yes, I paid the price by having to remove it, I knew what I was getting into to)
The strip arrived this week and I went to work yesterday!
The
windows had pretty much popped themselves out on their own over the years, so they came right out pretty easy.
The front window took like 3 hours because I had no idea what I was doing. After my girlfriend and I wrestled with it to no avail I finally came in and searched up the furums. KevinH61's video on youtube was exactly what I needed.
Then it only took 45 minutes for each window, much easier!
I had been trying to put the gasket on backwards, in other words I was slipping the part that goes on the shell onto the window.
The bigger groove is for the acrylic and the thinner slit slips over the fiberglass. I had cut the gasket after stretching it along the fiberglass backwards. So when I put it on correctly there was a gap now of an inch. Darnit! There was only enough material for two
windows, so I started over for the front window, and cut the gasket proper. and it went in easily.
Finished front:

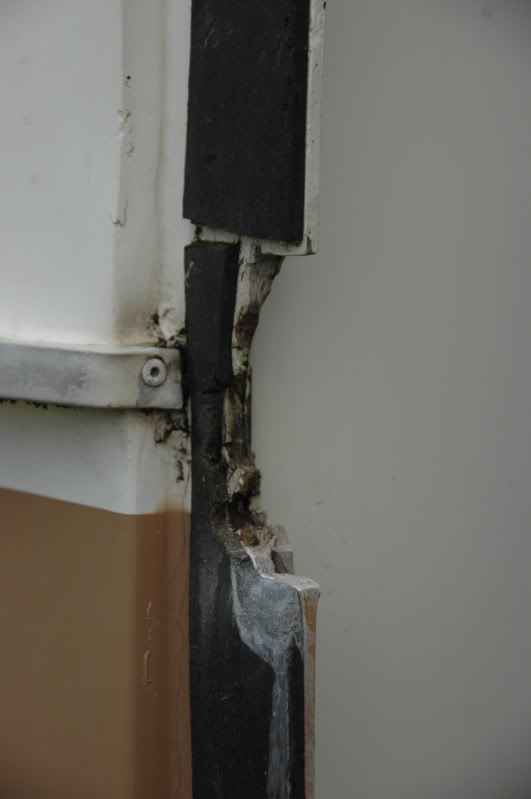
The rear window sans the old gasket and acrylic.
The gasket/lock-strip going around the shell first.

Start the window by seating the left/right edges first. The acrylic flexes more this direction. then start prying the gasket edges up over the acrylic.
I tried all kinds of tools and knifes. The best was really this Craftsman screwdriver. Start at one corner and just start going around, 1/4 inch at a time. Don't get ahead of yourself and try to pop in large sections, it will just frustrate you. stick with small bites. Top edge, top corners first, then bottom corners and bottom edge last.

Luckily the original tinted acrylic was still in good shape, so I was able to reuse it!
Since I was using my firstl, mis-cut peice on the rear I was left with a gap along the bottom. I cut it back to about three inches. I installed then a three inch peice in the gap. I figured I would try this out and hope for no
leaks. If I have to buy more material, oh well, I would of had to anyway. Maybe This will seal for a few seasons!?

Now I am buying the
lock-strip tool and will finish off the job!
All in all this is a great DIY project. The lock-strip from
Scamp is inexpensive and works great. As long as you're patient and follow the advice from Kevin it goes in pretty easy.


 Perris Pacer (The Egg)
 Linear Mode


